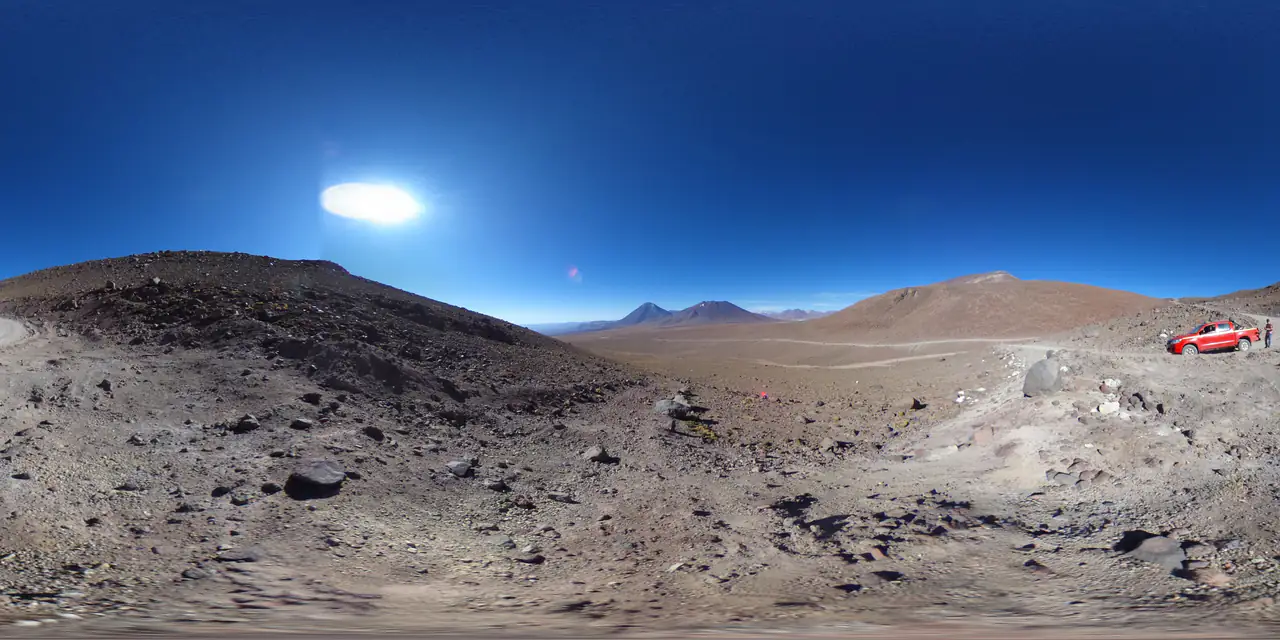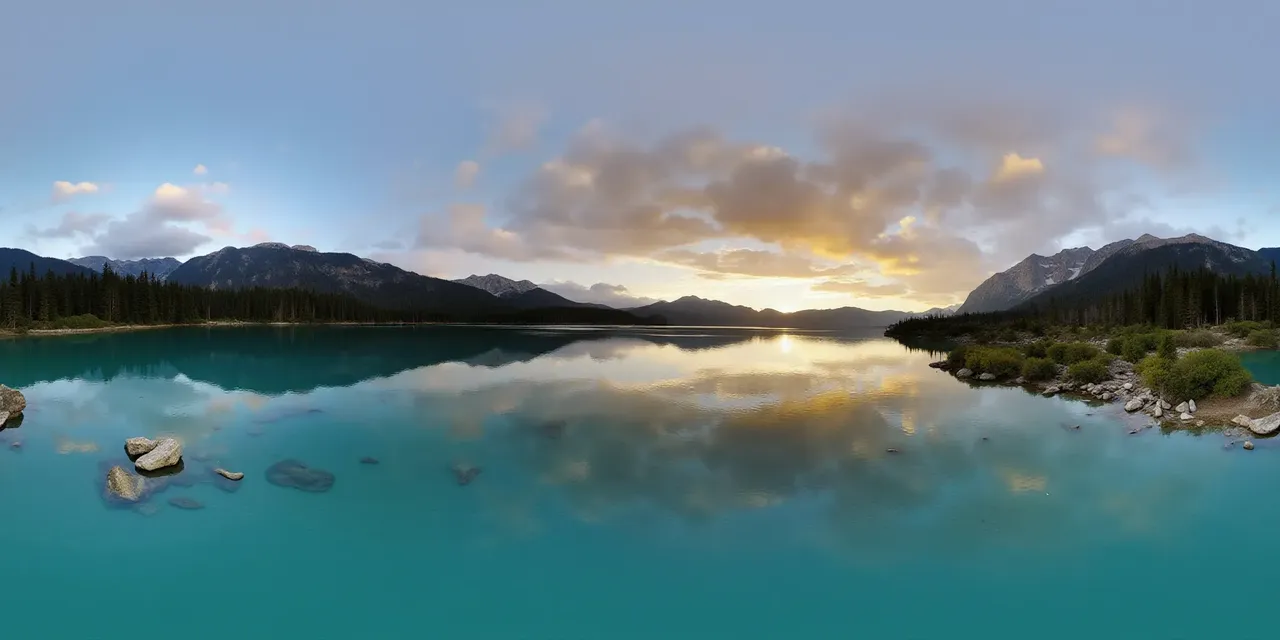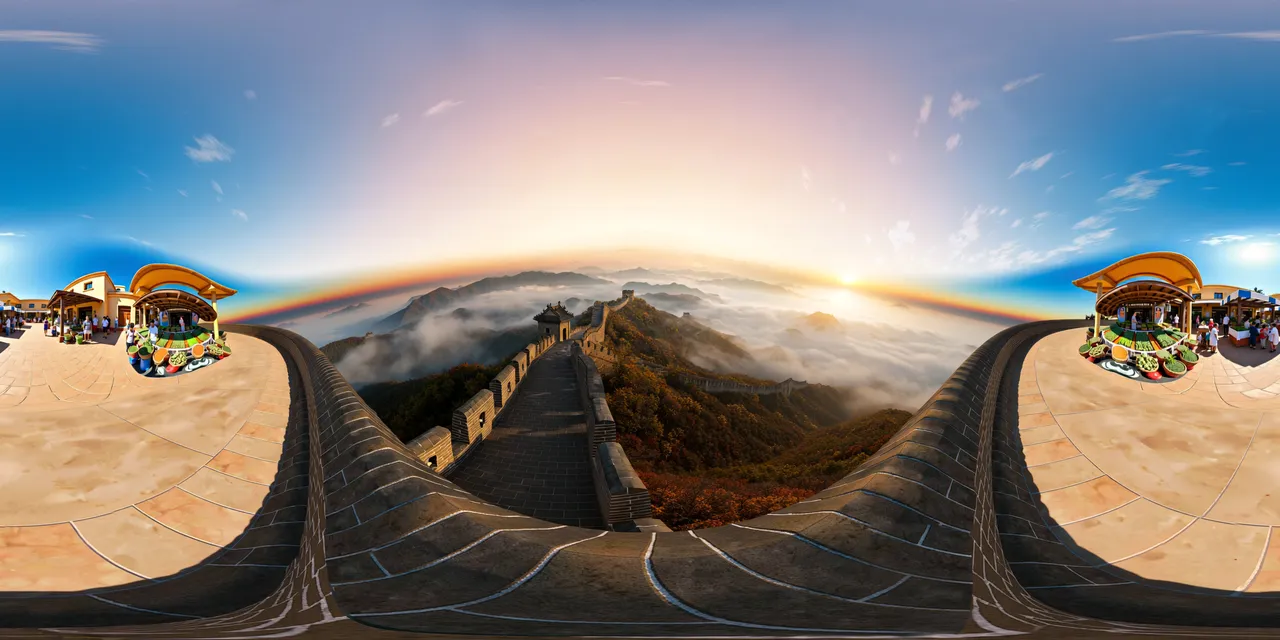
- One scene per room or outdoor area; link them so the visitor can move without a floor plan.
- The first scene is the listing's handshake: choose the view that explains the property fastest.
- Label generated or staged images honestly; a tour that misrepresents a property is a legal and trust problem.
What a property tour actually needs
- A small set of scenes that answer the buyer's first questions: layout, light, condition, outlook.
- A clear entry scene and a visible way to move to the next room.
- Hotspots for the details a still image cannot show: finishes, appliances, storage, the view.
- A share link that works on a phone without an app.
Captured or generated?
A captured tour uses a 360° camera or a phone panorama. It shows the property as it is, which is what a buyer expects. A generated tour is useful before a property exists, for a renovation concept or for staging an empty room. The visual language is similar; the honesty requirement is different.
Build the tour
- 01
Collect one panorama per space
Keep a consistent height and a level horizon. Run each image through the Panorama Checker; a seam in a doorway is the first thing a visitor sees.
- 02
Order the story
Start with the strongest room or the view. Then follow the natural path: living area, kitchen, bedrooms, outdoor space.
- 03
Link scenes
Place a scene-link hotspot at the doorway or the direction of travel, not in the middle of the room. Use a short label such as “Kitchen”.
- 04
Add detail hotspots
Use info hotspots sparingly for finishes, appliances or the view. A tour with too many pins feels like a manual.
- 05
Brand and share
Set a title, cover and optional branding; publish to an unlisted or public link and test it on a phone.
How many scenes?
Enough to answer the first visit: typically 5–10 for an apartment, 8–15 for a house. More scenes help a large property, but every extra scene adds load time and a decision. If a room does not change the buyer's understanding, it can be a still image instead.
Performance and mobile
- Use 4K panoramas for the main scenes; 2K is acceptable for secondary spaces.
- Keep the first scene small enough to load quickly on a phone.
- Test the share link on a mid-range phone, not only on desktop.
- Avoid autoplay audio; let the visitor choose.
What to measure
Track views, which scenes get opened and whether visitors reach the contact step. A tour that gets views but no enquiries usually has a weak first scene or no clear next action. A tour that loses visitors after scene two usually has a confusing link or a slow load.
Where PanoCraft fits
PanoCraft can generate a 2:1 panorama from a prompt or a reference image, build a tour from panoramas and 3D worlds, and add info hotspots and scene links with transitions. The Panorama Checker and the cubemap tools are free and local; the tour editor requires an account.
Questions this guide answers
Do I need a 360° camera for a virtual tour?
For an as-is property, yes — a 360° camera or a phone panorama captures the real space. For a concept or a pre-construction listing, a generated panorama can stand in if it is clearly labeled.
How many scenes should a property tour have?
Usually 5–10 for an apartment and 8–15 for a house. Prioritize the rooms that answer layout, light and condition; use still images for the rest.
Can visitors open the tour in VR?
The tour is a web experience and works in a browser. Whether a headset opens it in immersive mode depends on the headset browser; the share link itself does not require an app.
How do I share the tour?
Publish it from the tour editor and send the /t/ link. Use unlisted for a private listing and public for a page you want indexed.